Unlock the Full Potential of Oreo Balloon Bowls: Advanced Tips and Creative Concepts
You've mastered the basic technique, perhaps crafted a few batches, and experienced the sheer delight of creating those whimsical, edible dessert cups. If you've been following our journey with these delightful treats, you'll know that oreo balloon bowls - Article 1 introduced you to the magic, and oreo balloon bowls - Article 2 expanded on various serving ideas. Now, in Article 3, we're diving deeper, exploring advanced tips, troubleshooting common hurdles, and unleashing a torrent of creative concepts to truly elevate your oreo balloon bowls from simple desserts to show-stopping culinary masterpieces.
The allure of oreo balloon bowls lies in their charming appearance and delicious versatility. But as with any craft, there are nuances and tricks that can transform a good outcome into a perfect one. Whether you're aiming for a flawlessly smooth finish, experimenting with gourmet fillings, or planning a dessert bar that will wow your guests, this guide is packed with insights to help you achieve your sweet ambitions.
Mastering the Oreo Balloon Bowl Technique: Beyond the Basics
While the fundamental steps remain the same – melting chocolate, dipping balloons, and chilling – there are subtle adjustments and pro-tips that can significantly improve your success rate and the overall quality of your oreo balloon bowls. Perfection is in the details, and a few expert touches can make all the difference.
Choosing the Right Chocolate and Crushing the Oreos
- Quality Chocolate Matters: Don't skimp on chocolate quality. While basic melting wafers work, a good quality couverture chocolate (dark, milk, or white) will give you a smoother melt, a richer flavor, and a more professional sheen. Tempering chocolate can also prevent blooming and give a beautiful snap, though it's an advanced step not strictly necessary for success.
- Perfect Oreo Consistency: The texture of your crushed Oreos is crucial. For a smooth, even coating, crush them into fine crumbs. A food processor is ideal for this. If you prefer a bit of textural contrast, you can leave some slightly larger pieces, but ensure they're not so big they create weak points in your bowl.
- Double-Boiler for Smooth Melting: Using a double-boiler method for melting chocolate (or a microwave with short intervals and stirring) is key to preventing burning and ensuring a smooth, lump-free consistency. Adding a tiny bit of coconut oil or shortening (1 tsp per cup of chocolate) can also aid in achieving a thinner, more dippable consistency and a shinier finish without affecting the set.
The Art of Dipping and Drying for Flawless Bowls
- Controlled Dipping: Dip your inflated, oil-brushed balloon into the chocolate-Oreo mixture with a steady hand. Don't go too deep; remember you're creating a bowl, not a sphere. A good rule of thumb is to dip about 2-3 inches up the balloon for an ideal bowl shape.
- Even Coating is Key: Rotate the balloon gently while dipping to ensure an even coating of chocolate and Oreo crumbs. Tap off any excess chocolate to prevent pooling at the base, which can lead to a thicker, less elegant rim or a brittle bottom.
- The Drying Surface: Instead of parchment paper (which can sometimes stick slightly), consider using a silicone baking mat or a cooling rack placed over parchment paper for drying. This allows air circulation and prevents flat spots on the base. Ensure your refrigerator is cool, not freezing, as extreme temperature changes can cause cracking.
- Patient Peeling: This is often where things go wrong. Once fully firm (allow at least 30-60 minutes, or longer for thicker bowls), gently press down on the knot of the balloon to release some air, then snip the knot. Let the air escape slowly. As the balloon deflates, the chocolate shell will gently separate. Avoid pulling or rushing, which can cause cracks.
Elevating Your Oreo Balloon Bowls: Creative Fillings and Gourmet Variations
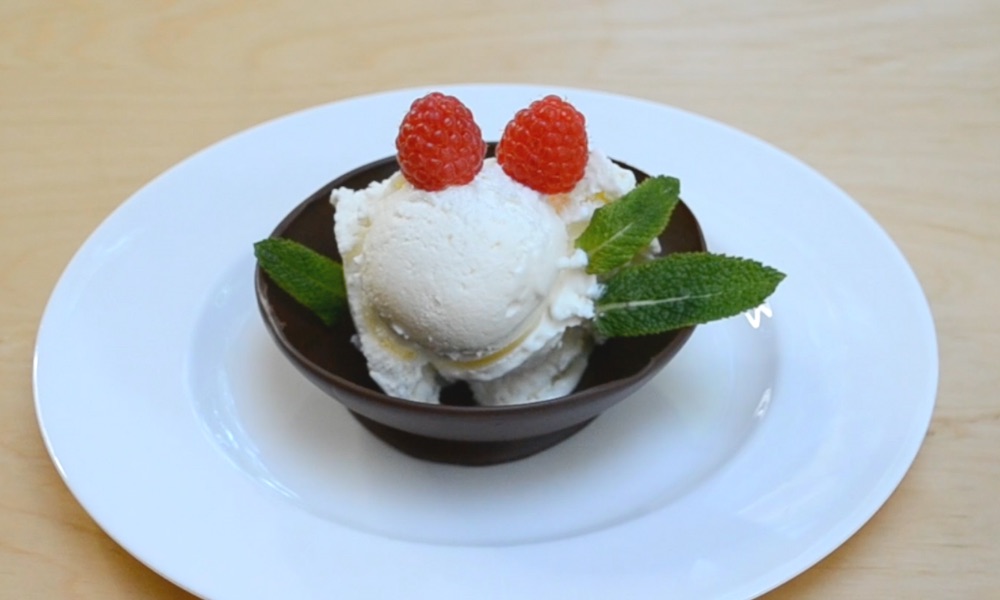
Once you've perfected the bowls themselves, the real fun begins: filling them! While ice cream is a classic, the possibilities are virtually endless. Let's explore some gourmet and unexpected fillings that will truly make your oreo balloon bowls stand out.
Beyond Ice Cream: Gourmet Fillings for Every Palate
- Decadent Mousse: Chocolate, strawberry, or even a delicate white chocolate mousse makes for a light, airy, and incredibly elegant filling. Top with fresh berries or chocolate shavings.
- Mini Cheesecakes: Spoon in a no-bake cheesecake filling (cream cheese, sugar, whipped cream, vanilla) and chill. Garnish with a fruit compote or a drizzle of caramel.
- Fruit & Custard Tarts: A layer of pastry cream or lemon curd, topped with beautifully arranged fresh fruit (berries, kiwi, mandarins), transforms your bowl into a miniature tart. Brush the fruit with an apricot glaze for shine.
- Edible Cookie Dough: For a fun and indulgent treat, fill with safe-to-eat cookie dough. Sprinkle with mini chocolate chips or sprinkles.
- Peanut Butter Perfection: A creamy peanut butter filling (made with peanut butter, powdered sugar, and cream cheese) is a dream for PB lovers.
Seasonal and Themed Oreo Balloon Bowls
Consider the time of year or your event theme:
- Fall Flavors: Pumpkin spice mousse, apple pie filling with a dollop of cinnamon whipped cream.
- Winter Wonderland: Peppermint stick ice cream, hot cocoa mousse, or even a boozy eggnog custard.
- Summer Refreshers: Berry sorbet, lemon gelato, or tropical fruit salsa with a lime crème fraîche.
- Holiday Specifics: Red velvet cream cheese filling for Valentine's Day, green mint chocolate chip for St. Patrick's, or festive sprinkles for birthdays.
Pro Tip for Filling: To prevent your bowls from getting soggy or cracking from pressure, fill them just before serving or no more than an hour or two in advance for moist fillings. For very wet fillings, you can brush the inside of the bowl with an extra thin layer of melted chocolate and allow it to set before adding the filling, creating an extra barrier.
Presentation and Party Planning with Oreo Balloon Bowls
The beauty of oreo balloon bowls isn't just in their taste; it's also in their presentation. They are naturally charming, but a few strategic serving ideas can turn them into the centerpiece of your dessert spread.
Elegant Serving Suggestions
- Individual Dessert Plates: Place each filled bowl on a small dessert plate, perhaps with a dusting of cocoa powder or a swirl of berry coulis on the plate itself for a restaurant-quality look.
- Dessert Bar Extravaganza: Set up a "build-your-own" oreo balloon bowl bar. Present empty bowls alongside various fillings (ice cream, mousse, puddings) and a selection of toppings (sprinkles, chopped nuts, fresh fruit, whipped cream, mini candies). This is interactive, fun, and allows guests to customize their treats.
- Miniature Masterpieces: For events or tasting menus, use smaller balloons to create mini oreo balloon bowls. These are perfect for bite-sized indulgences and a great way to offer multiple flavors without overwhelming guests.
Storage and Transport Tips
- Refrigeration is Key: Once formed, store your empty oreo balloon bowls in an airtight container in the refrigerator. They can last for several days this way. Avoid freezing empty bowls, as this can make them more brittle.
- Layering for Safety: If stacking, place parchment paper between layers of bowls to prevent sticking and damage.
- Transporting Filled Bowls: For filled bowls, a flat, sturdy container is essential. Keep them chilled in a cooler if transporting for an extended period. Fill them at your destination if possible for optimal freshness and structural integrity.
The Science Behind the Sweetness: Why We Love Oreo Balloon Bowls
Beyond their delicious taste and charming appearance, there's a certain magic to oreo balloon bowls. They tap into a universal love for DIY projects and edible art. The element of surprise when the balloon deflates, revealing a perfect chocolate cup, is inherently satisfying. The combination of crispy Oreo, rich chocolate, and a creamy filling offers a textural symphony that delights the palate. They're a testament to how simple ingredients, combined with a touch of creativity, can produce something truly extraordinary and memorable.
Whether you're crafting them for a family treat, a festive gathering, or just to impress yourself, the journey of making and enjoying oreo balloon bowls is always a delightful one. By applying these advanced tips and embracing creative fillings, you're not just making a dessert; you're creating an experience.
