Beyond the Basics: Mastering Your Oreo Balloon Bowls
You've likely marveled at the ingenious concept of oreo balloon bowls - Article 1, those delightful edible chocolate vessels that combine the joy of a dessert with a touch of playful magic. If you've already dipped your toes into creating these whimsical treats, you know the satisfaction of peeling away a balloon to reveal a perfectly formed chocolate shell. But the journey doesn't end with basic creation. This article delves deeper, providing advanced tips, creative insights, and troubleshooting wisdom to truly master the art of oreo balloon bowls, transforming them from simple desserts into show-stopping centerpieces.
The foundation of any spectacular oreo balloon bowl lies in the quality of your chocolate and the precision of your technique. Moving beyond standard melting methods, let's explore how to achieve a professional sheen and robust structure that will impress even the most discerning dessert connoisseur.
Choosing the Right Chocolate and Melting Techniques
- Chocolate Quality Matters: While chocolate chips can work, opting for higher-quality baking chocolate bars (couverture chocolate) will yield superior results in terms of flavor, melt, and shine. Look for chocolate with a cocoa butter content of around 30-35% for good fluidity.
- Tempering for Shine and Snap: For truly professional-looking oreo balloon bowls with a beautiful gloss and a satisfying snap, tempering your chocolate is key. This process involves carefully heating and cooling chocolate to stabilize its crystals. While it sounds intimidating, a simple seed method (melting most of the chocolate, then stirring in finely chopped un-melted chocolate) can be achieved at home with a thermometer. Aim for specific temperatures depending on dark, milk, or white chocolate.
- Double Boiler Method: This remains the safest way to melt chocolate, preventing scorching. Ensure the water in the pot below is simmering gently, not boiling vigorously, and that the bowl with chocolate doesn't touch the water. Stir frequently.
- Microwave Method with Caution: If using a microwave, heat in short bursts (15-30 seconds) and stir thoroughly between each. Chocolate can hold its shape even when melted, so stirring is crucial to prevent overheating.
Perfecting the Balloon Prep and Dipping Process
The balloon itself is your mold, and its preparation is just as vital as the chocolate. A small oversight here can lead to frustrating cracks or sticking.
- Consistent Inflation: Inflate balloons to a consistent size for uniform bowls. A good rule of thumb is to inflate them slightly larger than your desired bowl size, as the chocolate will add thickness. Tie them securely, leaving a good "handle" for dipping.
- Lightly Oiling the Balloons: This is a non-negotiable step. Use a neutral, flavorless oil (like vegetable or canola oil) and apply a very thin, even coat to the bottom half of each balloon with a paper towel. Too much oil can cause the chocolate to slide off; too little, and the balloon will stick.
- Strategic Chilling: After dipping, chilling is critical. Place the dipped balloons on a parchment-lined baking sheet or an inverted muffin tin (to prevent them from rolling) and immediately transfer them to the refrigerator. Allow them to chill completely – typically 15-20 minutes, or longer for thicker bowls.
- The Double Dip Advantage: For extra sturdy oreo balloon bowls, consider a second dip once the first layer is firm. Ensure the chocolate for the second dip is still at the ideal working temperature. This adds durability, reducing the risk of cracks.
Creative Fillings and Toppings for Your Edible Creations
Once you've mastered the shell, the real fun begins: transforming your oreo balloon bowls into bespoke dessert experiences. This is where your culinary imagination can truly soar, combining textures and flavors to create unforgettable treats.
Infusing the Oreo Theme Internally
While the name suggests Oreos, don't limit yourself to just a basic crushed cookie. Elevate the Oreo experience within the bowl itself:
- Oreo Mousse: A light, airy mousse made with crushed Oreos, whipped cream, and cream cheese offers a sophisticated take on the classic cookie.
- Mini Oreo Cheesecake Bites: Line the bottom of your chocolate bowl with a small scoop of no-bake Oreo cheesecake filling before adding other layers.
- Oreo Pudding Parfaits: Layer creamy chocolate or vanilla pudding with generous amounts of crushed Oreos for a delightful textural contrast.
Beyond the Cookie: Complementary Flavors and Textures
The beauty of oreo balloon bowls lies in their versatility. Think about contrasting colors, temperatures, and tastes to make each bowl a masterpiece.
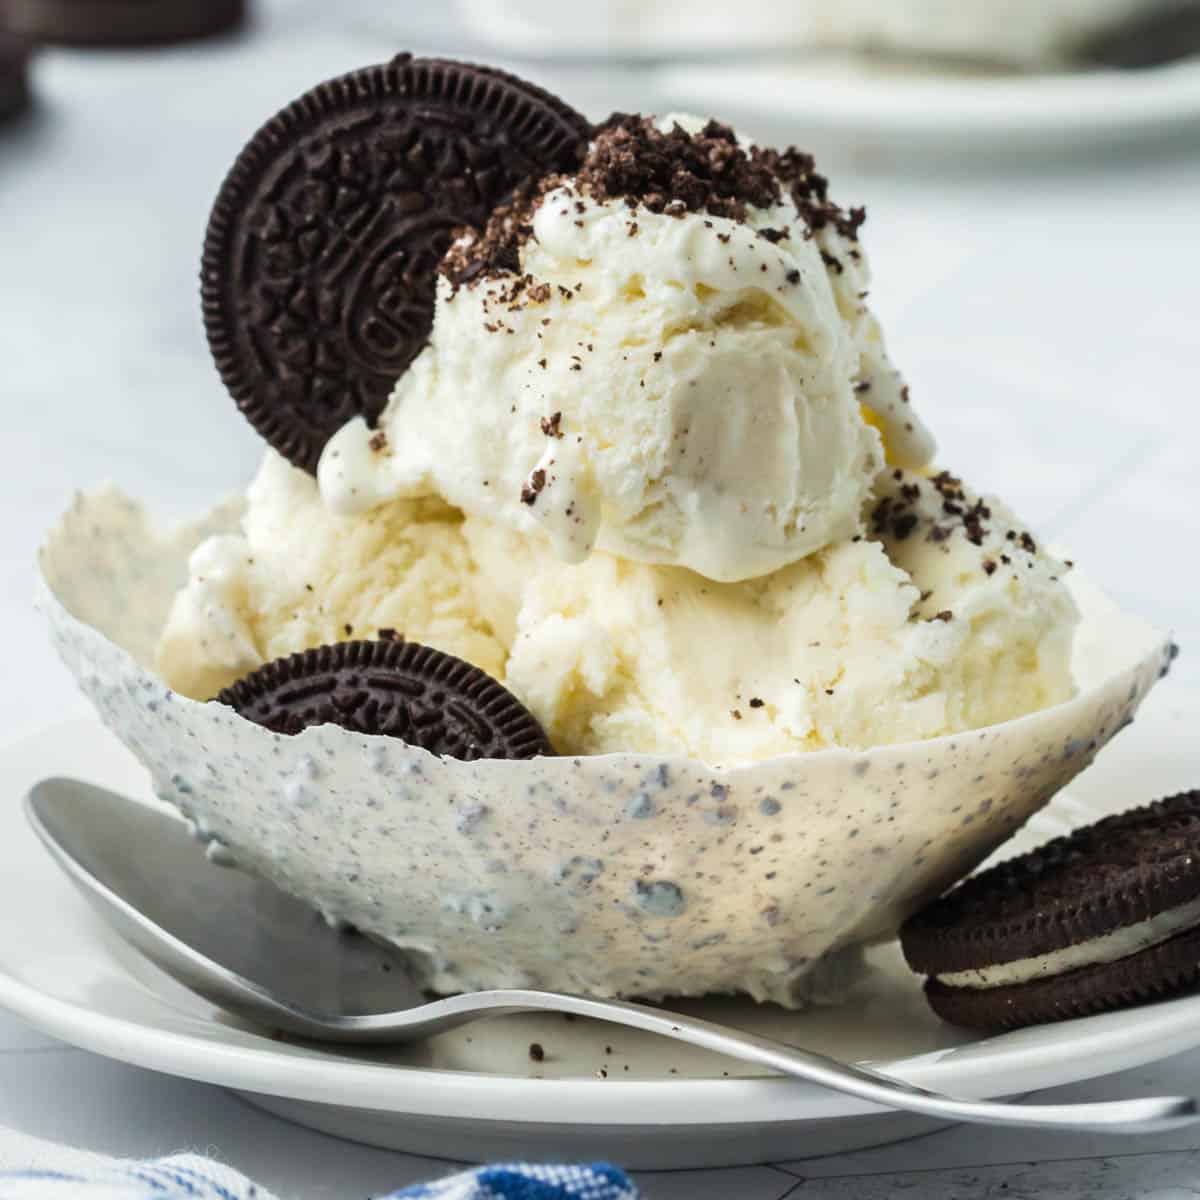
- Ice Cream Extravaganza: A scoop of premium ice cream (vanilla bean, mint chip, coffee, or even an Oreo-flavored ice cream) is a classic choice. Add hot fudge or caramel sauce for a sundae experience.
- Fresh Fruit Medley: Bright, fresh berries (strawberries, raspberries, blueberries) provide a lovely tart counterpoint to the sweet chocolate. Sliced bananas or kiwi can also work beautifully.
- Whipped Delights: Freshly whipped cream, a dollop of crème fraîche, or even a mascarpone cream can add richness and elegance.
- Nutty Additions: Toasted chopped nuts (pecans, walnuts, almonds) sprinkled on top add a satisfying crunch.
- Decadent Drizzles: Finish with a swirl of caramel, dark chocolate ganache, white chocolate sauce, or even a fruit coulis.
- Mini Marshmallows & Sprinkles: For a playful touch, especially for younger guests, mini marshmallows, chocolate shavings, or colorful sprinkles are always a hit.
Troubleshooting Common Oreo Balloon Bowl Challenges
Even seasoned dessert makers encounter hiccups. Understanding common pitfalls and how to rectify them will save you time, frustration, and chocolate. Creating perfect oreo balloon bowls is a learning process, and these tips will help you navigate common issues.
Addressing Structural and Aesthetic Problems
The most common issues relate to the chocolate's integrity and appearance:
- Cracked or Broken Bowls:
- Too Thin Chocolate: Ensure your chocolate layer is thick enough. A single, thin dip often isn't sufficient. Consider a second dip.
- Not Chilled Enough: The chocolate must be fully firm before peeling. Rushing this step is a common cause of cracks.
- Aggressive Peeling: Be gentle! The next point addresses this in detail.
- Temperature Shock: Don't move bowls from a very cold fridge directly to a very warm room too quickly, as rapid temperature changes can cause stress on the chocolate.
- Balloons Sticking to the Chocolate:
- Insufficient Oil: Re-evaluate your oiling technique. A light, even coating is essential.
- Chocolate Too Hot: If the chocolate is too warm when you dip, it can 'bake' onto the balloon rubber. Ensure your chocolate is at the correct working temperature.
- Not Chilled Enough: Similar to cracking, an insufficiently firm chocolate shell can cling to the balloon.
- Uneven or Blobby Bowls:
- Uneven Dipping: Dip smoothly and consistently. Rotate the balloon to ensure an even coating.
- Chocolate Too Thick or Thin: If chocolate is too thick, it won't drip smoothly. If too thin, it won't adhere properly. Adjust viscosity with a tiny bit of vegetable oil (for thinning) or more melted chocolate (for thickening).
- Improper Draining: After dipping, allow excess chocolate to drip off thoroughly before chilling. Gently rotate the balloon to help this process.
The Art of Gentle Balloon Removal
This is often the most nerve-wracking part, but with practice and patience, it becomes second nature.
- Ensure Full Chill: Again, do not rush this step. The chocolate must be hard and firm to the touch.
- Find the Knot: Hold the balloon by the knot.
- Gently Stretch and Pull: Carefully stretch the rubber away from the chocolate edge, breaking the seal. Slowly pull the balloon up and out of the chocolate bowl. If it resists, try twisting the balloon slightly as you pull.
- Puncture (Optional but Helpful): For stubborn balloons, you can gently snip a tiny bit off the knot end or poke a small hole with a pin near the knot. This allows air to escape slowly, making the balloon deflate and detach more easily from the chocolate without creating a vacuum that can pull the chocolate with it.
Occasions and Presentation: Elevating Your Dessert Game
Oreo balloon bowls aren't just desserts; they're an experience. Their unique charm makes them perfect for a variety of occasions, and with thoughtful presentation, they can become the star of any table. For even more advanced techniques and intricate designs, don't miss oreo balloon bowls - Article 3.
Making Them Party-Ready
Individual edible bowls are a dream for entertaining, offering both elegance and convenience.
- Individual Dessert Servings: Eliminate the need for extra plates. Guests simply pick up their oreo balloon bowl and enjoy.
- Dessert Bar Centerpiece: Arrange an assortment of filled bowls on a tiered stand or a beautifully decorated platter. Offer various fillings so guests can choose their favorite.
- Customizable for Guests: For a fun interactive element, offer empty chocolate bowls and a "filling bar" with different ice creams, fruits, sauces, and toppings, allowing guests to build their own bespoke dessert.
Themed for Special Occasions
Adapt your oreo balloon bowls to suit specific celebrations:
- Birthdays: Fill with birthday cake ice cream, sprinkles, and a small candle.
- Holidays:
- Christmas: Peppermint-infused chocolate bowls with white chocolate mousse and crushed candy canes.
- Valentine's Day: Ruby chocolate bowls with raspberry compote and fresh berries.
- Halloween: Orange-tinted white chocolate bowls with green slime (lime custard) and gummy worms.
- Anniversaries: Elegant dark chocolate bowls filled with espresso gelato and a dusting of cocoa.
Sophisticated Plating and Garnish Ideas
Even a simple oreo balloon bowl can look gourmet with the right finishing touches.
- Dusting Magic: Lightly dust the plate or the chocolate bowl itself with powdered sugar or cocoa powder using a fine sieve.
- Edible Flowers & Herbs: A delicate sprig of mint, a few microgreens, or a vibrant edible flower (like pansy or viola) adds an immediate touch of sophistication.
- Contrasting Sauces: Swirl a contrasting colored sauce (like raspberry coulis on a white plate, or a bright green pistachio sauce) beneath or around the bowl.
- Texture Play: A sprinkle of feuilletine flakes, candied nuts, or dehydrated fruit chips around the base adds visual interest and textural crunch.
Conclusion
The journey from a simple chocolate-dipped balloon to a magnificent oreo balloon bowl is one of both culinary skill and creative expression. By focusing on quality ingredients, refining your techniques, and embracing innovative filling ideas, you can elevate this delightful dessert into something truly extraordinary. Whether you're aiming for gleaming, perfectly tempered shells or an explosion of flavors and textures, the possibilities are endless. Don't be afraid to experiment, troubleshoot, and personalize your creations. These edible masterpieces are not just a treat for the taste buds but also a feast for the eyes, promising to be the highlight of any gathering and a testament to your dessert-making prowess.
